Don’t save a workbook with that annoying column stuck on page 2 or a lonely row left by itself again when you print it! Switch to Page Layout view in a single click before you adjust your column widths to ensure you only need to do it once.
The default view in Excel is Normal View. You can easily change to Page Layout view by clicking the middle button on your Status bar at the bottom of the screen, on the right, to the left of the zoom slider (highlighted in orange). The left of the Status bar also tells you how many pages your document is.
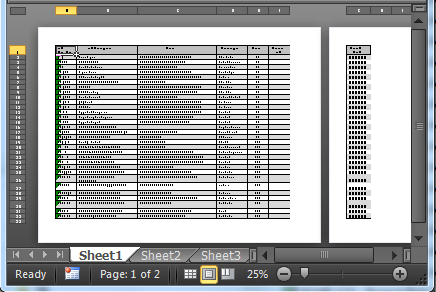
Once in Page Layout view, you can:
- Adjust your column widths. You can still double-click between the headings of the columns to automatically adjust their width to the size of the data.
- Adjust your row heights. Highlight the work sheet or rows and right-click to bring up the Shortcut Menu, then Row Height. Slightly adjust the value.
- Adjust your margins. View your ruler by selecting the View tab > Show grouping > tick Ruler.
Note: This screenshot is from Excel 2010 although all options are available in later versions.
